
The Ultimate Guide on How to Clean Engine Bay
When you want your engine bay looking showroom-ready, professional help from skilled car detailing technicians can make all the difference, though you can also tackle this project yourself with the right approach. Getting started requires gathering degreaser, brushes, a microfiber cloth, a hose, and gloves. Park in a well-ventilated location, let the engine cool completely, and prop open the hood. Shield sensitive parts with bags or foil, protect air intake and electrical components, disconnect the battery, apply degreaser, and gently scrub. Rinse thoroughly while avoiding delicate areas. Dry with towels, pat surfaces dry, wipe components, and inspect your work. Stay attentive for leaks, worn hoses, and filter changes. Monitor fluids regularly, clean the electrical parts, and keep everything tidy for optimal engine efficiency. A clean engine bay not only looks impressive but also helps maintain a well-functioning vehicle.
Essential Supplies Needed
Before diving into the cleaning process, you'll want to have everything ready. Start with a quality degreaser specifically formulated for engine cleaning, which breaks down oil and grime effectively. Grab a set of detailing brushes with different bristle stiffness to reach various areas and crevices. You'll need microfiber cloths for wiping down surfaces without scratching. A hose or pressure washer helps rinse off the degreaser and dirt, though be careful with water pressure around sensitive components. Nitrile gloves protect your hands from harsh chemicals and grime during the entire process. Plastic bags come in handy for covering sensitive electrical components and preventing water damage. Having these supplies organized and within reach makes the job go smoothly and prevents interruptions once you start.
Preparing Your Vehicle
Park your vehicle in a well-ventilated area and wait for the engine to cool down completely. This prevents accidents and protects you from burns. The engine should feel cool to the touch before you proceed. Pop the hood and secure it using the prop rod so you have full access to work. Look over the engine bay for loose debris, leaves, or contaminants that might interfere with cleaning. Remove large debris by hand or with a vacuum to avoid pushing it deeper into crevices. Cover sensitive components like the air intake, electrical connections, and exposed filters with plastic bags or aluminum foil to prevent water damage. Double-check that your cleaning supplies are nearby so you won't need to stop midway through the process.
Protecting Sensitive Components
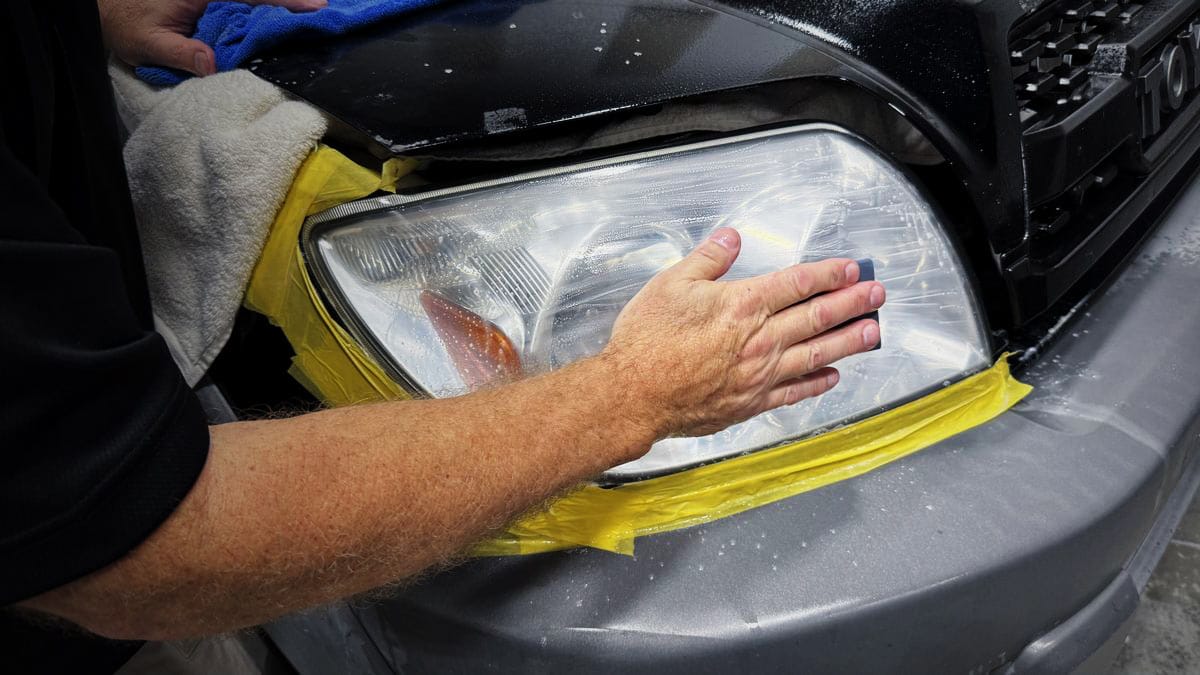
Look through the engine bay for exposed components that water could damage, including the air intake, electrical connections, and exposed filters. Before cleaning begins, protect these sensitive parts by covering them with plastic bags or specialized covers. Fasten these covers securely to prevent water or cleaning agents from seeping through gaps. Pay extra attention to delicate electronic components and wiring harnesses since water exposure leads to electrical malfunctions and corrosion. After cleaning, you might want to use a moisture repellent spray on electrical connections to provide an extra layer of protection against moisture intrusion. Taking these precautionary measures shields your engine's sensitive components and prevents potential damage during the cleaning process.
Cleaning Process Step-by-Step
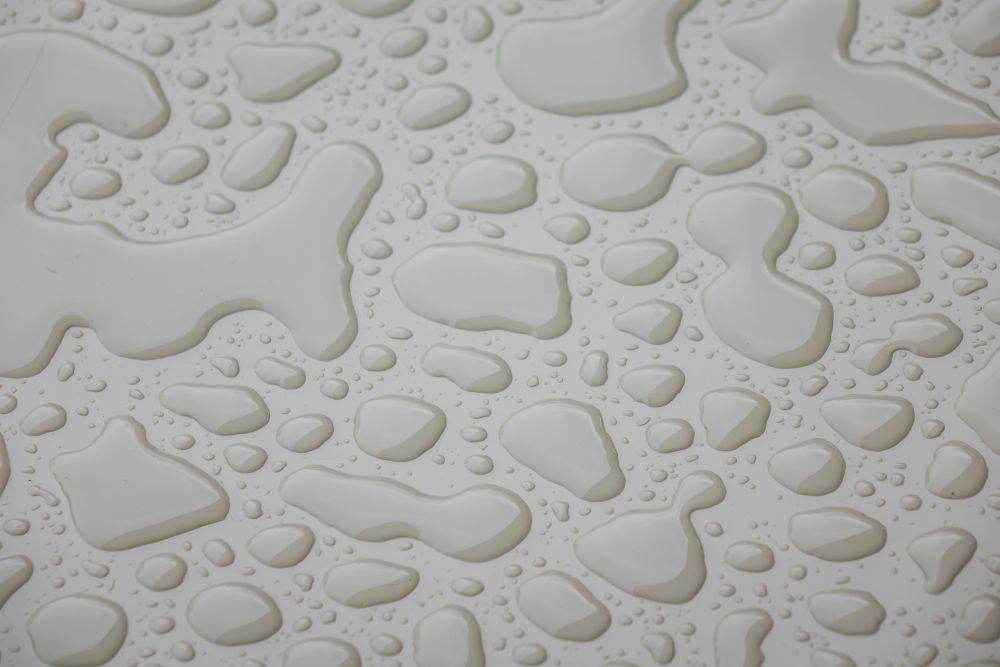
Start by disconnecting the car battery to prevent electrical mishaps during the procedure. Cover sensitive components such as the alternator, fuse box, and air intake with plastic bags secured by rubber bands. Use a degreaser spray to coat the engine bay generously, focusing on greasy areas that have built up grime over time. Allow the degreaser to soak for a few minutes so it can break down the grime effectively. Scrub the engine bay using a soft-bristled brush to agitate the dirt gently without damaging surfaces. Rinse off the degreaser and dirt with a steady stream of water while being careful not to directly spray sensitive components. If stubborn areas remain, repeat the degreasing and scrubbing process, targeting those specific spots. Inspect the engine bay to confirm all dirt and grime have been removed thoroughly before moving to the drying stage.
Drying and Final Touches
Dry the engine bay thoroughly using clean microfiber towels to prevent water spots, starting from the top and working downward. Begin by gently patting the surfaces to absorb excess water while addressing all nooks and crannies. Use a separate dry microfiber towel to wipe down the engine components, hoses, and any remaining damp areas. Pay close attention to intricate parts and crevices to prevent moisture buildup that could cause problems later. Once the engine bay is completely dry, inspect for any missed spots or lingering residue that needs attention. Step back and admire your clean engine bay, now free of water spots and streaks. This drying process maintains the pristine condition of your engine bay and prevents rust or corrosion from developing.
Maintenance Tips and Recommendations
Keeping your engine bay in peak condition requires regular attention and care. Check periodically for leaks, loose hoses, and signs of wear so you can address them promptly before they become bigger problems. Replace or clean air filters according to your vehicle's maintenance schedule to maintain optimal engine performance and efficiency. Regular checks of engine oil, coolant, brake fluid, and power steering fluid levels prevent damage and keep your vehicle running smoothly. Inspect and clean battery terminals, wiring, and connectors to prevent corrosion while keeping electrical systems functioning properly. These maintenance practices keep your engine bay looking clean while helping maintain the longevity and efficiency of your vehicle's engine components over time.
Related Topics: